Trending

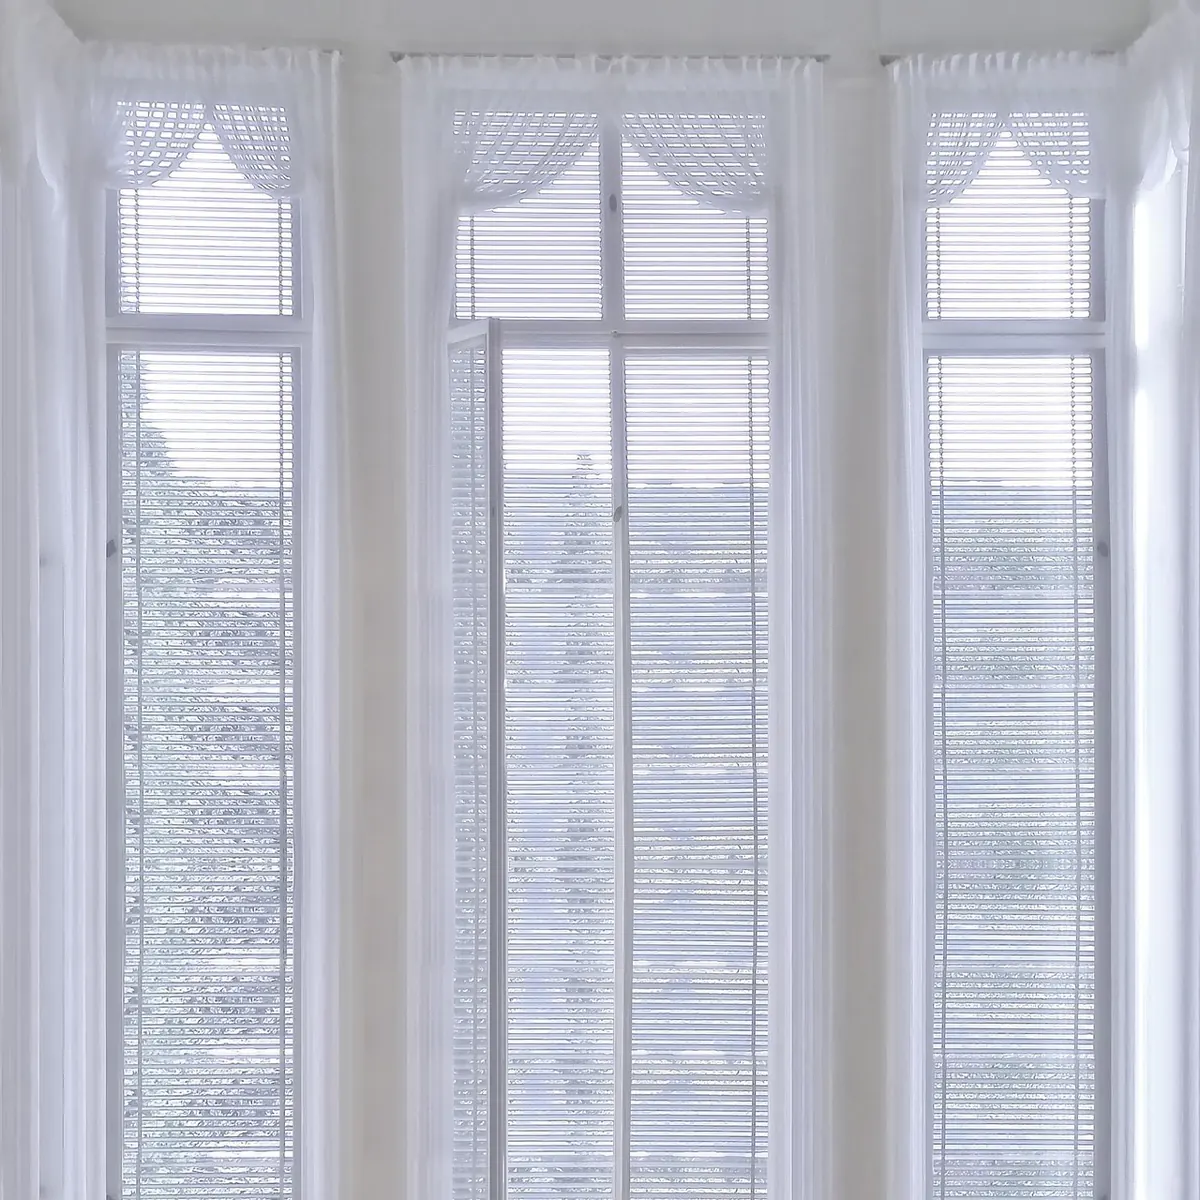
A bay window is one of the best features a room can have. It pulls light in from three directions, adds a few precious feet of floor space, and gives a street-facing room some character. It also makes hanging curtains far more fiddly than most people expect. The angles, the returns and the way light arrives from the sides all change what works. Get it right and the bay looks as though it was designed with the curtains in mind. Get it wrong and the window looks pinched, lopsided or half-finished, however lovely the fabric is. These are the mistakes that come up again and again.
The biggest error is treating a bay like a flat window. A straight pole over a straight window is simple. A bay needs to follow three sides, usually with two bends, and the pole or track has to sit outside the window recess rather than inside it.
Mounting the pole inside the recess, tight against the glass, feels tidy but rarely works. Curtains need somewhere to stack, and inside a recess they bunch against the side walls, blocking light and looking cramped. Fix the pole to the wall or ceiling in front of the bay, running from one end of the opening to the other where possible, with 10–15cm of overhang at each end so the open curtains sit clear of the glass.
Then think about brackets. On the angled sections, each bracket needs a solid fixing point behind it. If you are drilling into plasterboard with nothing behind it, use proper hollow-wall fixings, or the weight of lined curtains will pull the bracket out within weeks. For heavy fabrics in a wide bay, a ceiling-fixed track with a bay bend often carries the weight better than a pole and gives a smoother draw.
Bays are wider than they look. Because the curtains have to travel around two or three planes, the running length of track is often considerably longer than the front face of the window. Measure the front only, order fabric for that measurement, and you end up with curtains that barely meet in the middle.
Fullness is the total flat fabric width divided by the track length. As a guide:
So a 3-metre track at 2.5x fullness needs roughly 7.5 metres of fabric, plus allowances for hems and side turnings. That sounds like a lot at the window, and it is. It is also what makes the curtains fall in soft folds rather than hang flat like a sheet. Small bays deserve the generous ratio just as much as large ones.
With a straight window you pick a drop and you are done. In a bay, the sill, radiator or window seat runs around the curve, so a length that looks right at the front can look wrong at the sides. Sills are rarely perfectly level, and a curtain that finishes neatly on the front panel may catch on a window seat on the returns.
Settle the finish before you measure anything:
Whatever you choose, keep it consistent around the whole bay. A curtain that grazes the floor in the middle and hovers above it at the corners is instantly noticeable. It is also worth thinking about heat: curtains that hang over a radiator trap warm air behind them and push it up the cold glass, where much of it is lost. If a radiator sits under the bay, a sill-length or below-sill finish usually serves you better.
Tiebacks are where a good pair of curtains can go badly wrong. The classic mistake is pulling them too tight and too low, which drags the leading edges forward and leaves an awkward funnel of fabric on the return walls. In a bay it also pulls the curtain away from the glass at the angles, so light leaks around the sides at exactly the point you were trying to cover.
A few rules that hold up in practice:
If the bay has short angled returns, a tieback at each end will pull the curtains into the corners and make the window feel smaller than it is.
Not every heading style suits a bent pole. Eyelet curtains need a straight, rigid pole, because the rings are set into the fabric at fixed intervals and cannot move independently of one another. On a bay pole the eyelets jam at the bends, and the curtains never draw properly. Tab-top and rod-pocket headings have the same problem for the same reason.
What works well around a curve: pencil pleat, pinch pleat, goblet pleat and wave headings, all of which hang from hooks or gliders that travel freely around the angle. If you already own eyelet curtains you love, a straight pole spanning the whole opening — well clear of the bay itself — is the workable compromise.
Where will the curtains sit when they are open? In a bay, there is frequently no wall at either end, because the opening runs straight into the corner of the room. If so, the open curtains stack in front of the window itself and cut out a chunk of the light you bought the bay for.
Work this out before you fix anything. If there is no stacking space, either extend the track past the opening onto the wall return, or reconsider the whole approach and use a Roman blind or a pair of made-to-measure shutters inside the recess instead. It is a different look, but a better one than curtains that permanently shade a third of the glass.
Do it in this sequence and most of the problems above simply disappear. Decide first whether the curtains will hang in front of the bay or inside the recess. Then work out the fixing points and the finish line — floor, sill or below-sill. Measure the full track run the long way round, section by section, and add the overlap where the two curtains meet in the middle, usually 10–15cm per side. Choose a heading that can handle the bends. Only then buy the fabric.
It is a slow, slightly dull order of work, and it saves the far more expensive mistake of reordering everything because the first set never hung properly. If your bay has awkward angles, high ceilings or a heavy fabric in mind, it is worth asking a curtain fitter to quote for supply and fitting — they will have seen every mistake on this list, and they will know which fixings your walls actually need.
Photo: FlashBuddy / Pixabay